This article covers the process of authorizing your social media accounts in POST. Our data indicates that social media users perform a significant amount of listening. Connecting your Facebook and Twitter accounts in POST lets you quickly and easily share new content with your social media followers and capitalize on that growing market.
TABLE OF CONTENTS
Authorization
Facebook Authorization
First, you must fully control your Facebook page and need admin access to POST. To review your page's full control users, follow the steps in this guide.
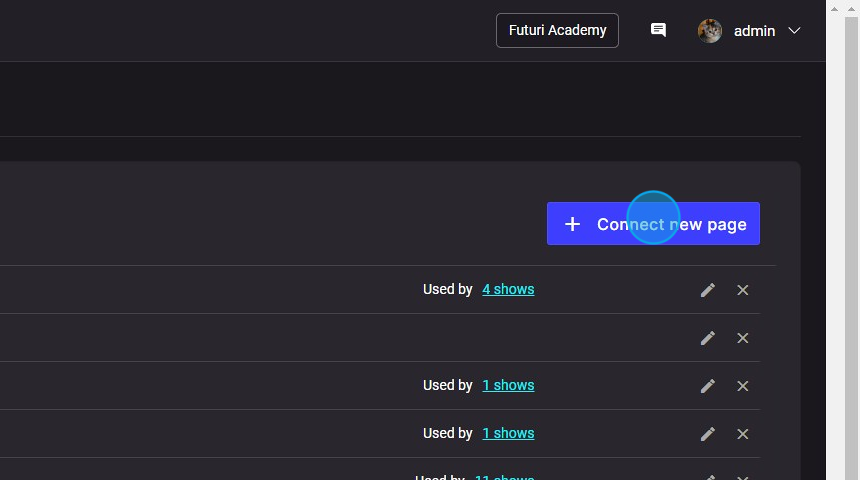
1. Navigate to the Setup tab and select Facebook.

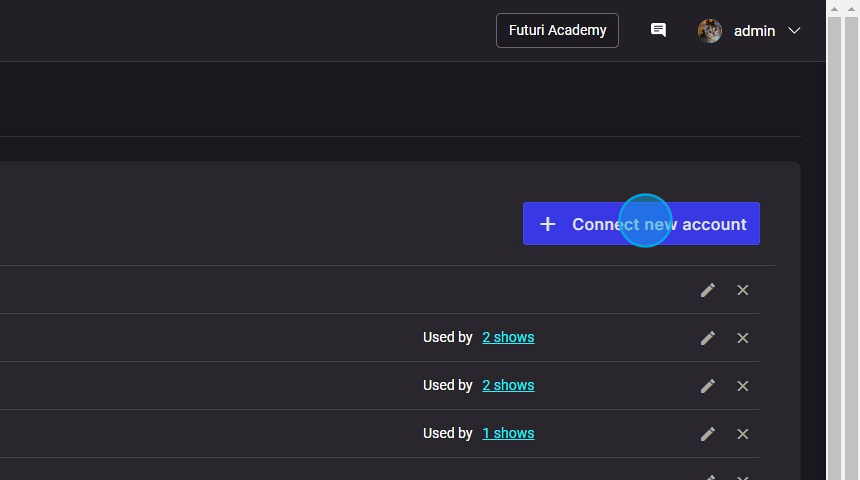
2. Click the blue button to + Connect new page.
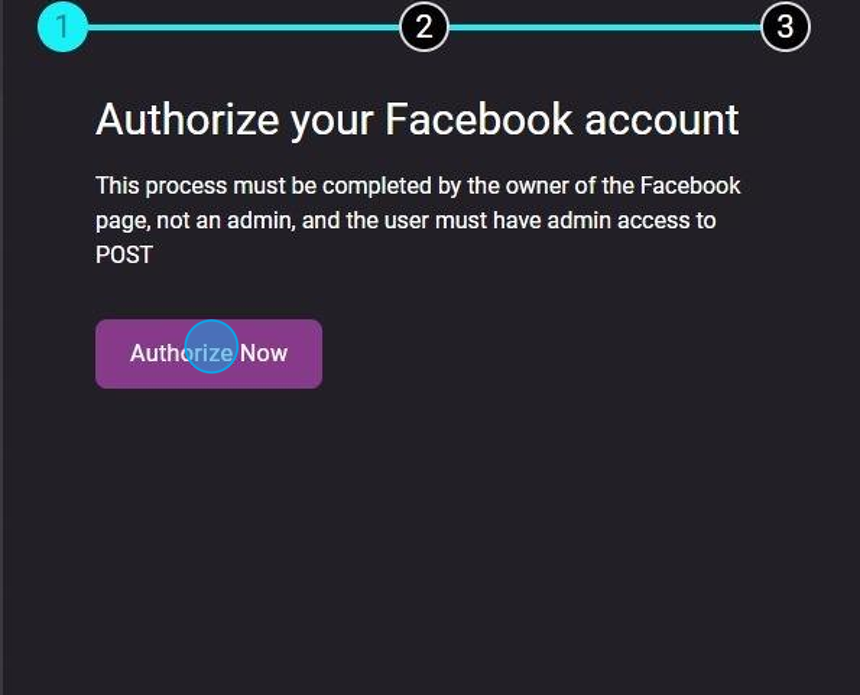
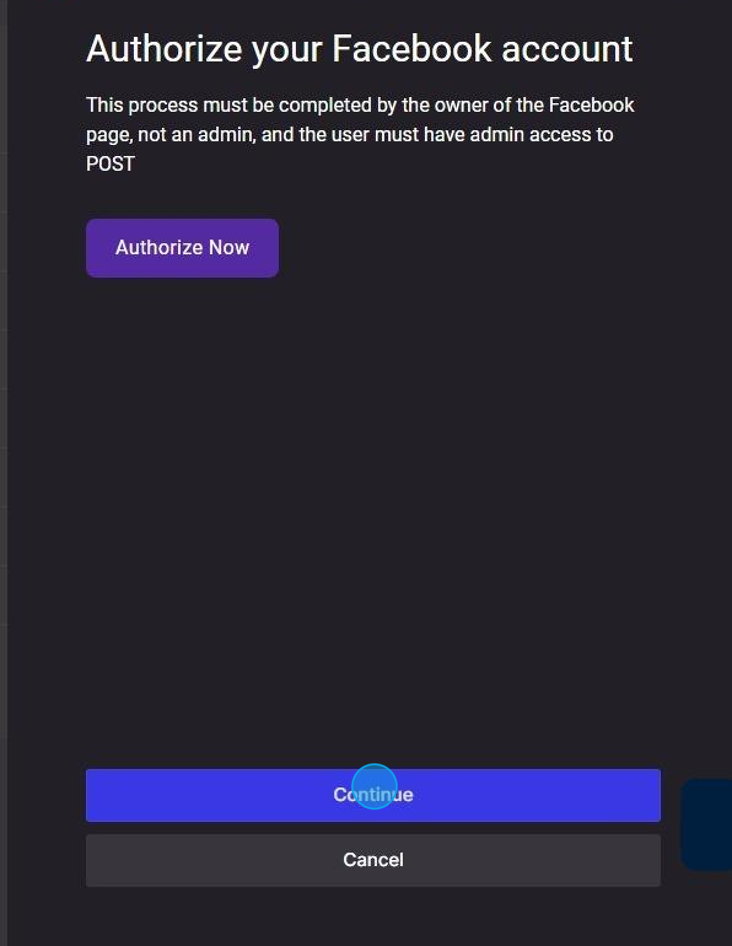
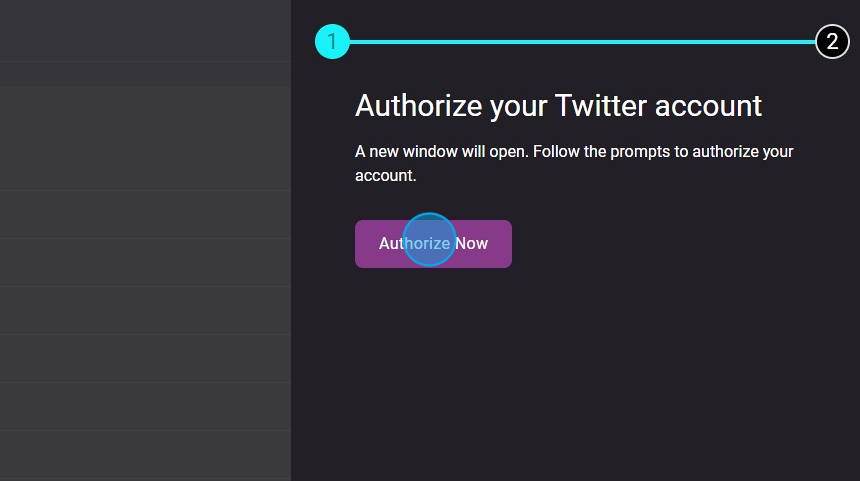
3. Click Authorize Now.
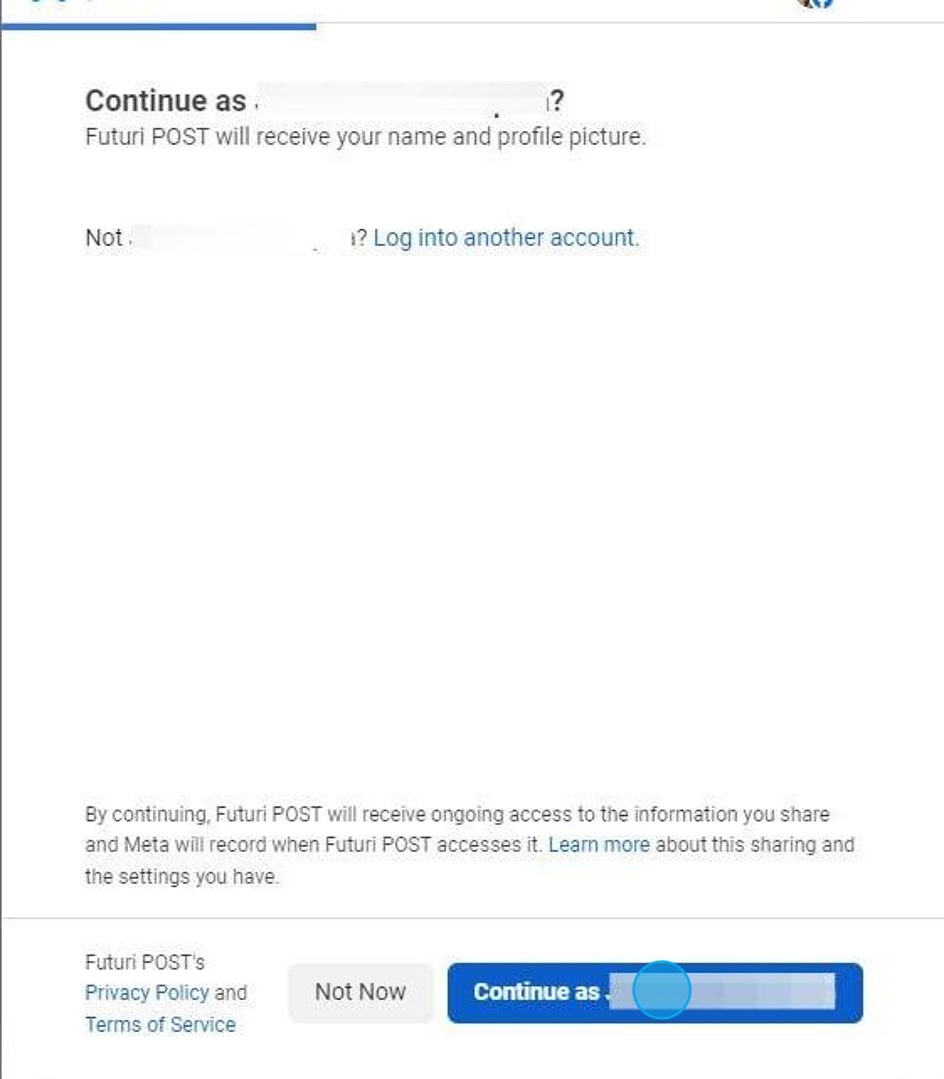
4. Log into your Facebook account.
5. You can choose to "Opt in to all current and future Pages" to give POST access to your current Pages, plus any Pages you create in the future.
You can also select "Opt in to current Pages only" to give POST access only to selected Pages.

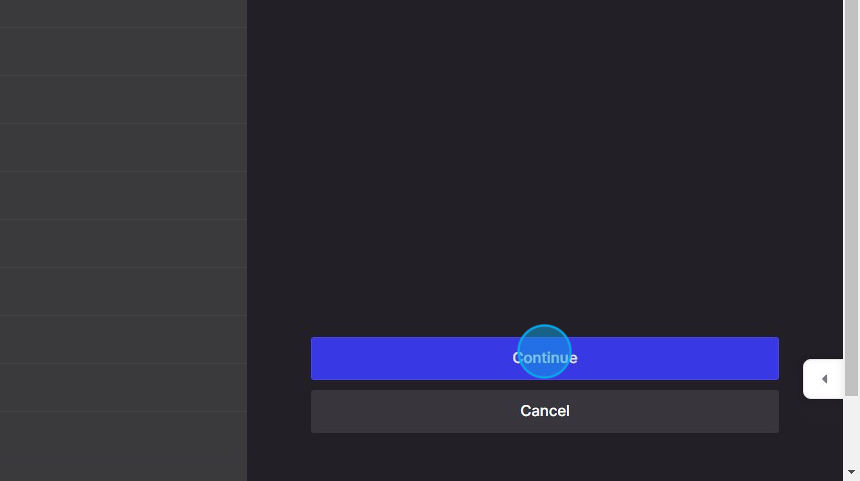
6. Click Continue and then Save to finish the authorization.

7. You will receive two confirmation messages, which you can accept to return to POST.

8. Click Continue to finish the setup.
9. Click Get Facebook Pages and then select the Page to use with this authorization. Click Continue.

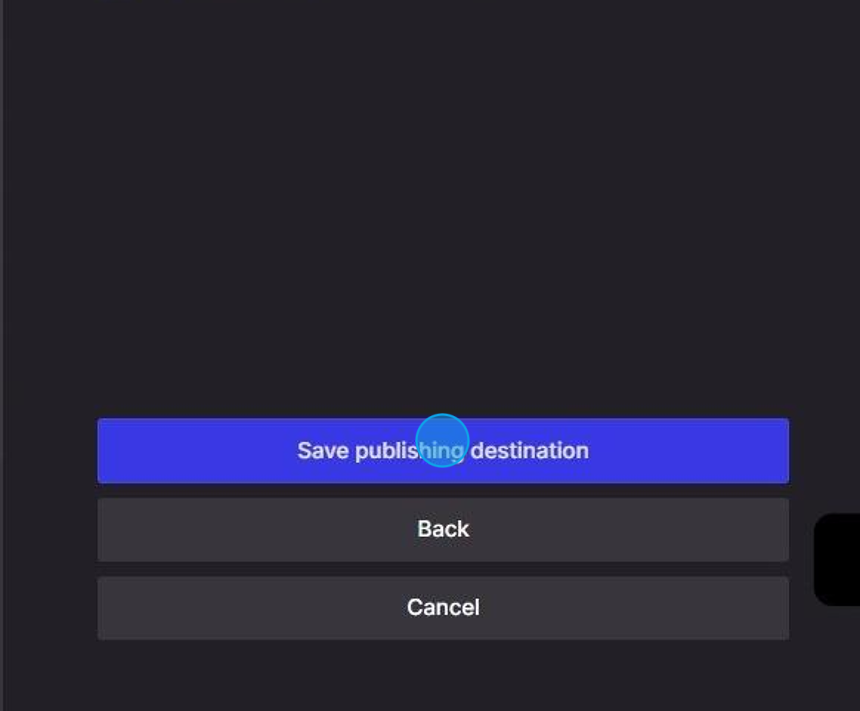
10. Click Save publishing destination, and you are done.
IMPORTANT: If you do not see all of the Facebook pages you manage listed when authorizing, please take the following steps:
- Log into your Facebook account as yourself (not as your Page).
- Navigate to Settings > Business Integrations and click on the POST application.
- From here, grant permissions for POST to post content on each Facebook page.
- After completing this action, you will want to start the authorization steps over again in POST.
Twitter (X) Authorization
To begin, the owner of your Twitter account will need admin access to POST.
1. Navigate to the Setup tab and select Twitter (X).

2. Click the + Connect new account button.
3. Click Authorize Now.
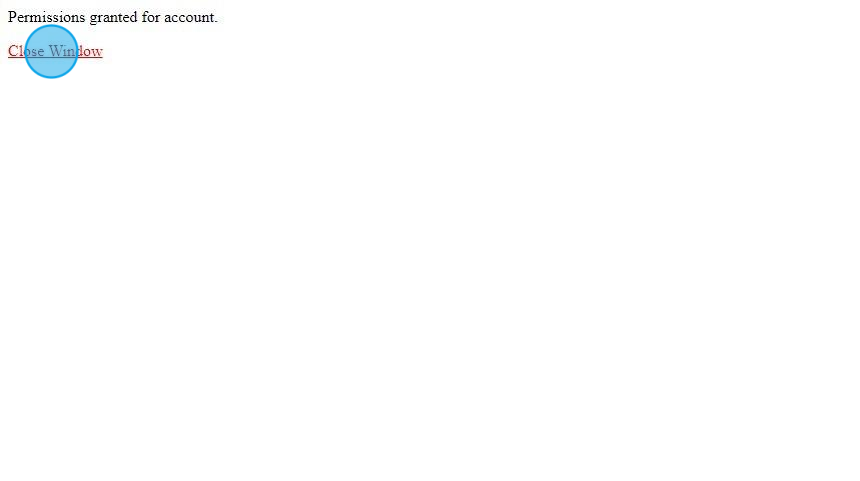
4. Click Authorize app and then Close Window when you see the confirmation message.

5. Click Continue in POST to save the connection.
YouTube Authorization
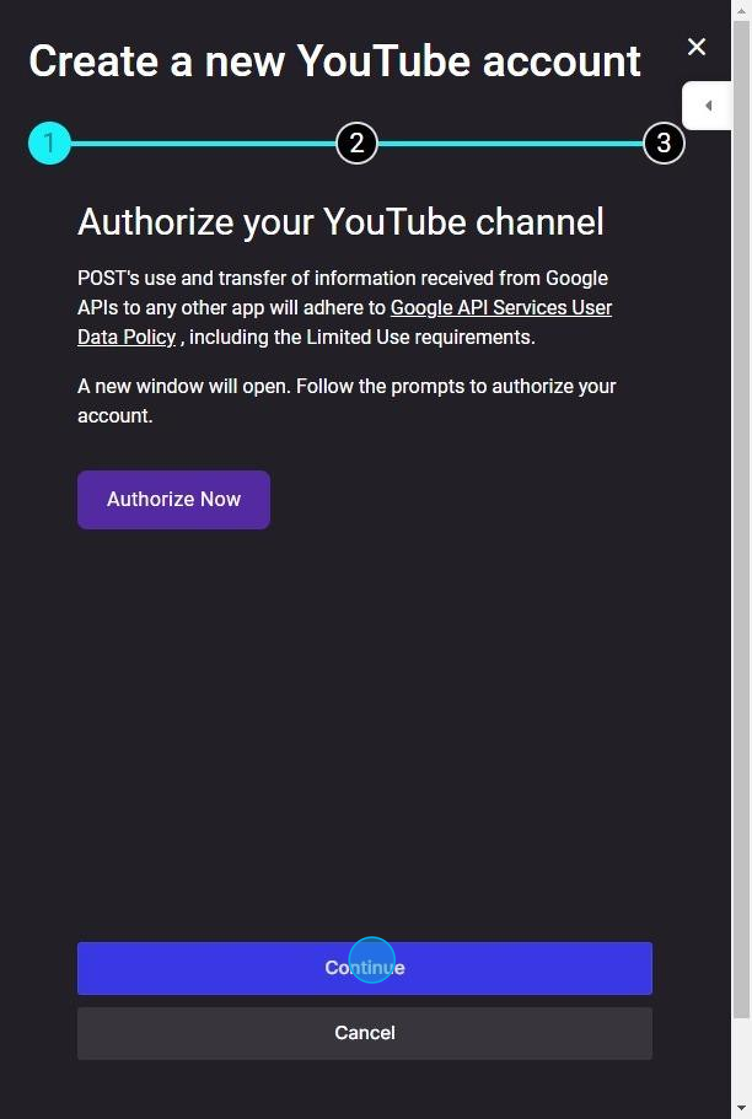
1. Navigate to the Setup tab. Then, choose YouTube.

2. Click the button to + Connect new channel. Then, click Authorize Now.

3. Next, log into your YouTube account and allow access to POST to publish to that account.

4. You will receive a confirmation message. Click Close Window to return to POST.
5. Click Continue.
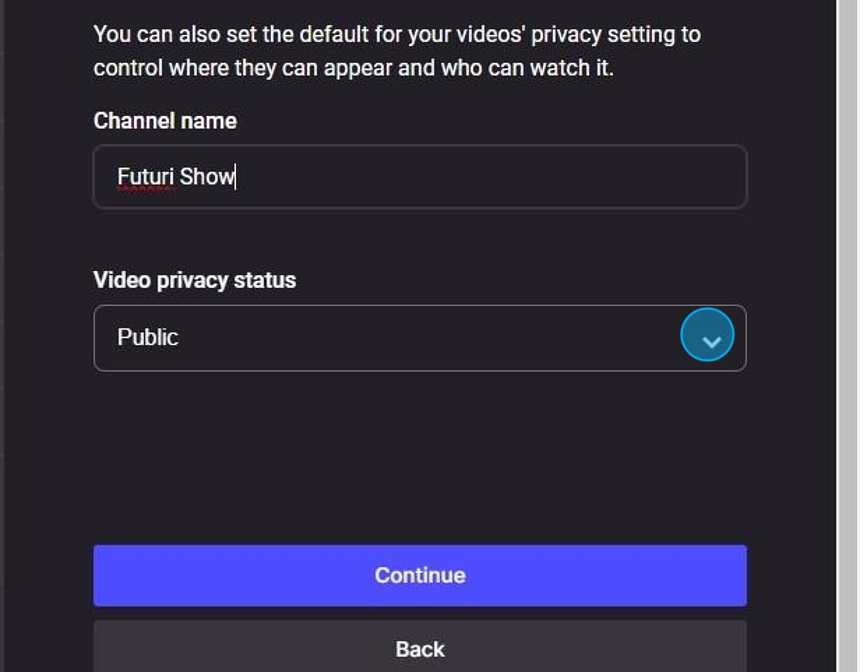
6. Specify the Channel name to display in POST.

7. Choose a default Video privacy status for your videos shared to YouTube.
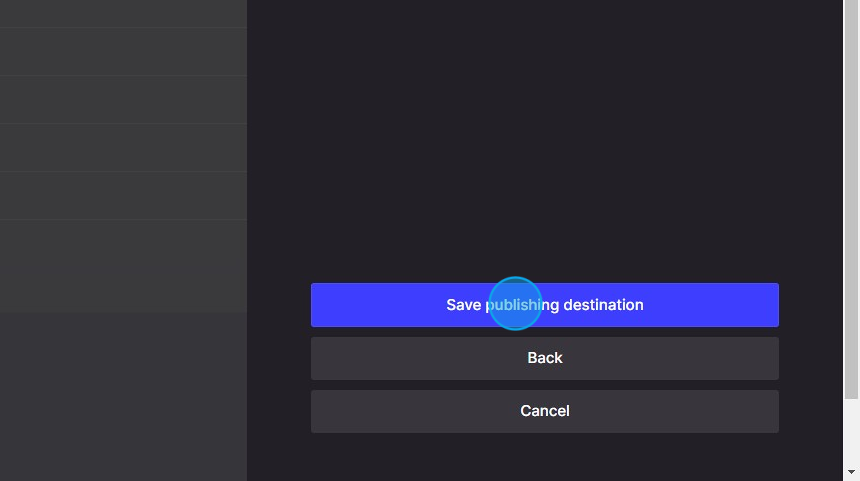
8. Click Save publishing destination to finish.
Reauthorization
You will need to reauthorize your social connections occasionally. This will be required if your account owner changes or you update your password. Facebook, Twitter (X), and YouTube will also require the connection to be refreshed periodically.
Before reauthorizing, you should fully delete the social account connections from the Setup tab by clicking on the X.
Navigate to Setup and click the x next to the account for which you wish to remove the authorization. Click Confirm when asked to verify that you want to delete the authorization.

For Twitter (X) or YouTube, follow the authorization steps above. For Facebook, follow the directions below.
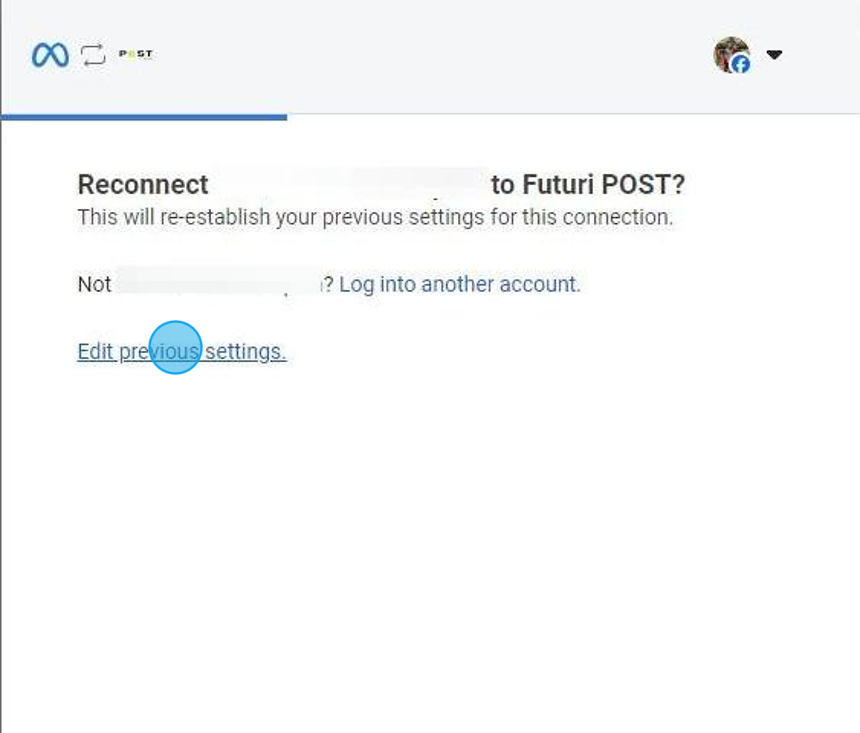
Facebook Reauthorization
Follow the same steps as authorizing Facebook. When you reach the Facebook authorization page, make sure to Edit previous settings to review which pages you authorize with POST.
As before, you can choose to "Opt in to all current and future Pages" to give POST access to your current Pages, plus any Pages you create in the future.
You can also select "Opt in to current Pages only" to give POST access only to selected Pages.

Click Continue and then Save to finish the authorization.
