
With POST, you can easily create a web widget to display your on-demand content right on your station's website. Read on to learn how to set it up and easily customize the display and options to blend with your branding.
PLEASE NOTE: You will need the assistance of your website administrator to embed the widget code on your station's page.
1. Within your POST account, click the Setup tab.

2. In the Web Widget section, select to + Connect new widget.

3. Enter the title for your widget and then click Continue.
TIP: Choose a descriptive title that indicates the Show and/or the site where the widget will be displayed.

4. Next, to customize how it will display, click on the <> icon by the widget you just created.

5. Choose your Widget Type for the smaller Mini or larger Classic display.

6. Choose a Light, Dark, or Custom display mode, which will set the default background and button color theme.

7. If you choose Custom mode, you can use the hex color pickers to select the colors of your background, text, and accent.

8. Select how many of the most recent episodes you would like to display in the widget.
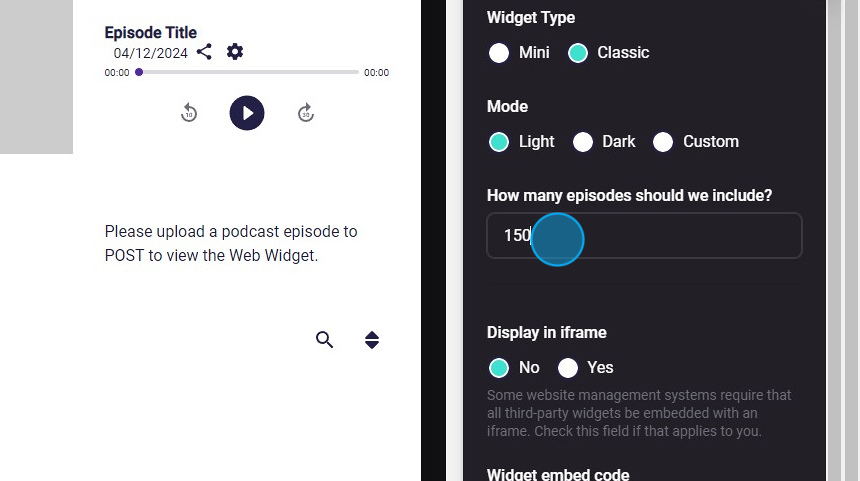
9. If your website requires an iframe, you can select that in the Display in iframe section.

10. When you have made all your selections, click Copy to clipboard to obtain your widget code for use on your website.
The How to use directions at the bottom will give you some quick tips on using your code.
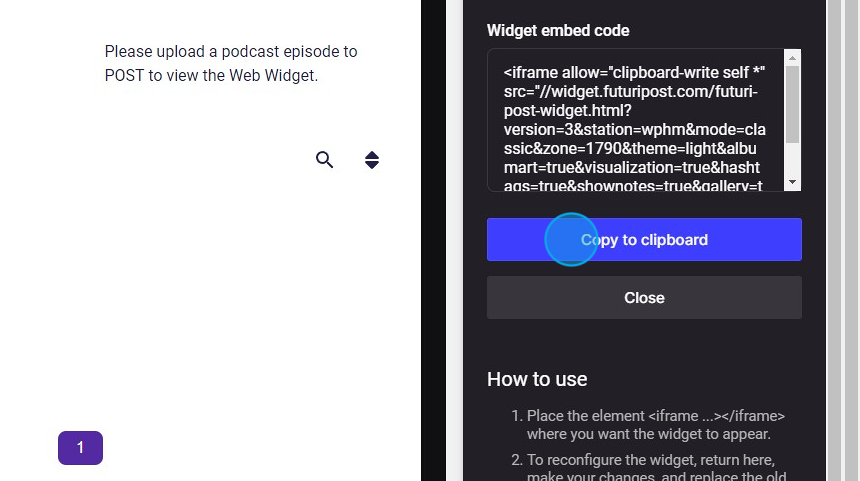
11. You have completed your customizations. Click Close to exit the menu.

For more in-depth information about POST web widgets, check out this course in the Futuri Academy.