Follow the steps below to master the best practices for using POST's dynamic audio editor to create and publish episodes that will thrill your audience.
TABLE OF CONTENTS
- Selecting Audio Segments
- Uploading Audio
- Inserting Ad Markers
- Editing Your Audio
- Merging & Downloading
- Publishing Options
- View Published Episodes
1. Navigate to the Audio tab to begin.
Selecting Audio Segments
2. Begin by selecting the segments to include in your episode. You can narrow your options by using the date and audio type filters or searching for a segment by name.

3. To add a segment to the episode, either hover over the segment and click the plus sign or drag it into the editor.

Uploading Audio
4. To upload audio, expand the Upload Library on the right side of the screen. Give your upload a name and select an audio type label before uploading the file.
Once uploaded, you can drag the audio segment into your episode.

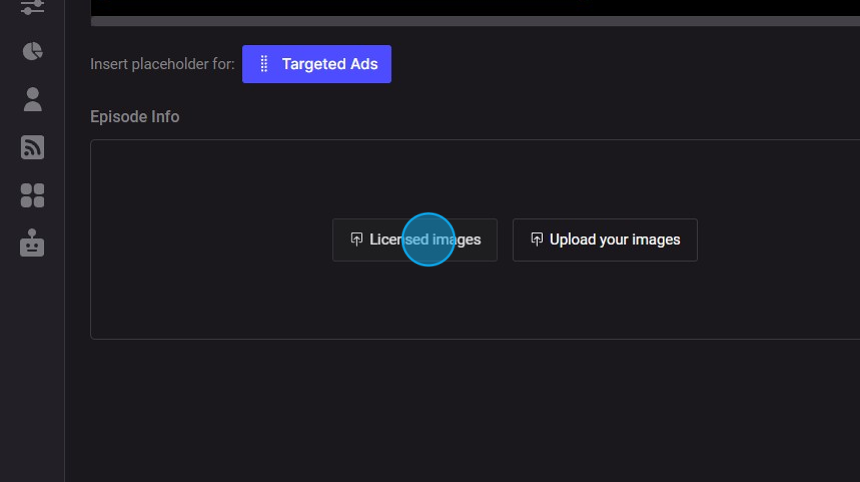
Inserting Ad Markers
5. If you use a supported ad serve software, you can insert ad markers by clicking the "Targeted Ads" button and then dragging the placeholder into your desired position in the episode.

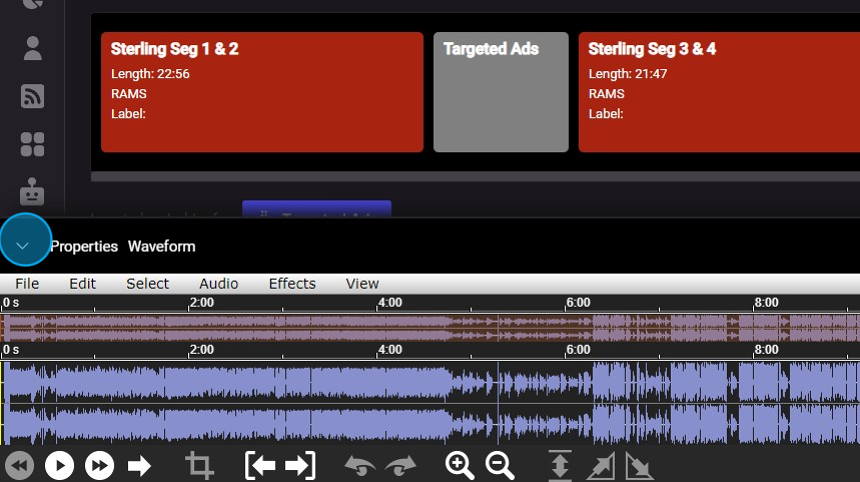
Editing Your Audio
6. To open the editor, click the play button on a segment.
For more best practices on using the POST editor, take the Publishing Your Podcast with POST course on Futuri Academy.

7. TIP: To optimize your segment alignment, you can add time to the beginning or end of each segment in the editor.

8. Click the caret to close the POST editor when finished.
Merging & Downloading
9. It is not required, but if you want to combine multiple segments, you can use the Merge button. A countdown will display indicating how long the merge will take to complete.
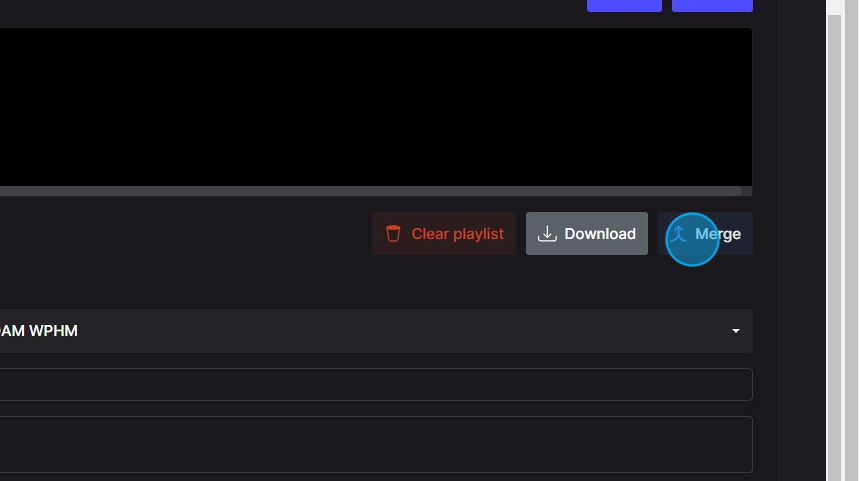
10. If you would like to download your file, click the Download button and select a mp3 or aac file.

Publishing Options
11. Choose the show to which the episode should be published.

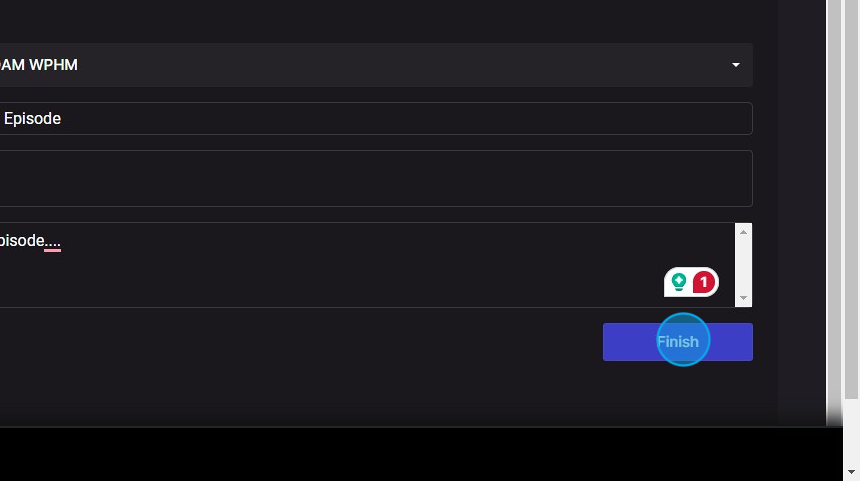
12. Create an episode Title, add social media Tags, and write a concise episode Description for your listeners.

13. Next, add an episode image to display along with your audio on social media. You can choose from POST's library of licensed images or upload your own.
14. Click "Finish" to lock in your episode details.
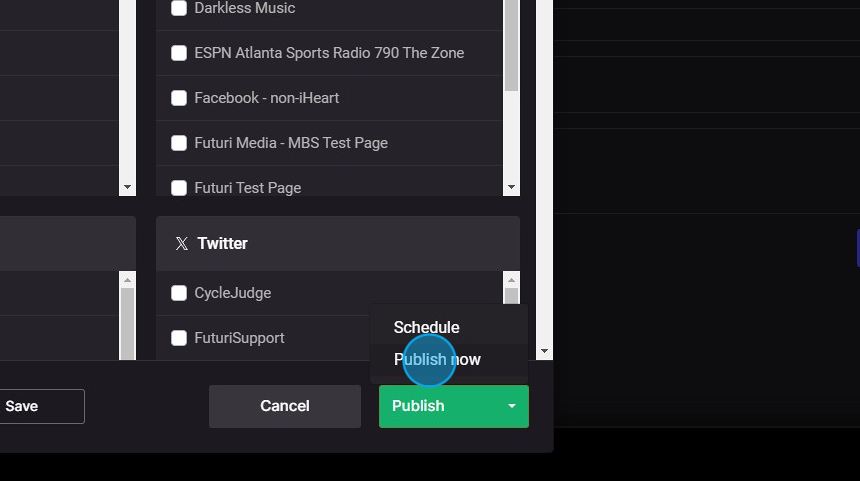
15. Finally, you will be prompted to select your publishing destinations for the episode.

16. Click Publish and you will see the option to publish it now or schedule it for the future.

17. If you choose the Schedule option, you will be prompted to select a date and time in the future to publish your episode.

18. Alternatively, if you select Publish now, your episode will be published as soon as the file completes processing.
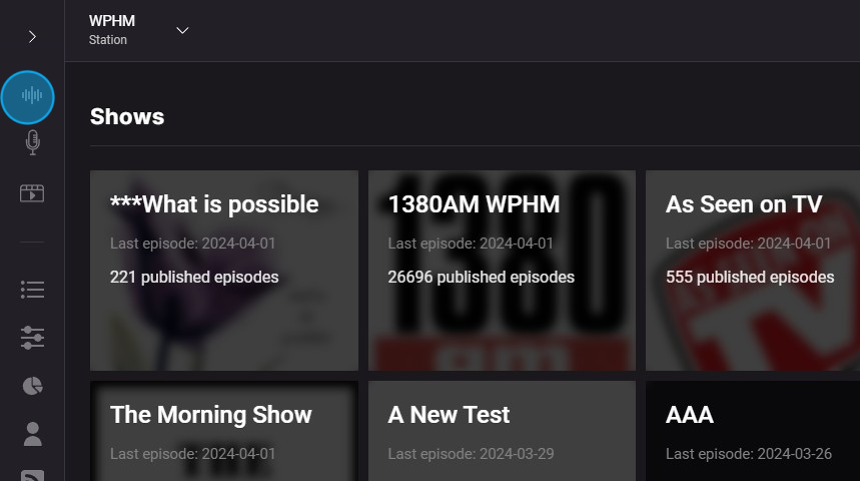
View Published Episodes
19. Return to the Shows tab to view your published or scheduled episodes and select the appropriate show. Using the filter at the top, you can sort episodes by status.

20. That's it! You've put your episode out into the world!