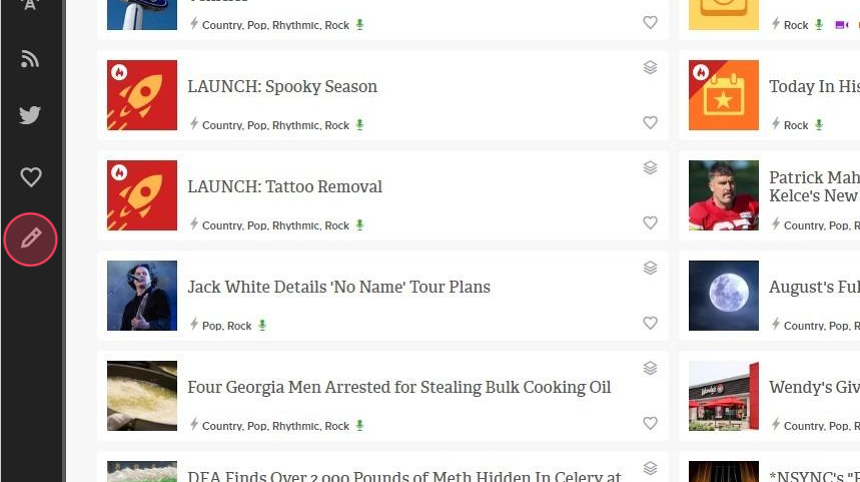
In addition to accessing curated stories, with Prep+, you can create and control content on a local level. Follow the steps below to get started.
1. From the homepage, click on the + sign in the lower left-hand corner of the screen and select Create Story.

2. Give your story a title and add the summary copy.

3. Click + ADD CONTENT to links, audio, video and more.

4. Upload a photo or logo by clicking on the image field.

5. Assign a Destination. You may have the option to share it with multiple stations.

6. Select a Category for the content.

8. Set a Publish Date.

9. Optionally, check the box to Select Date Range and set an end date, or choose NEVER for evergreen content.

10. When complete, you can choose to PUBLISH your story or SAVE AS DRAFT.

11. To edit your drafts, click the pencil icon in the left-hand nav bar.

